Introduction

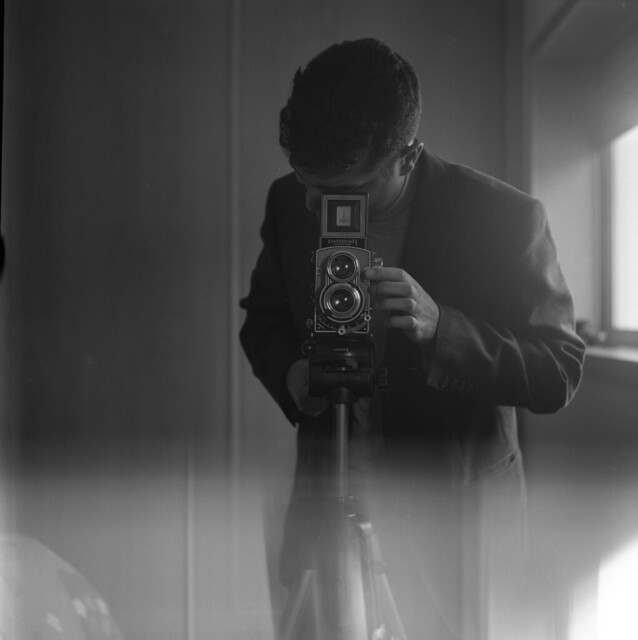
3 years ago, on 2015, I’ve decided to experiment with analogue photography after I got comfortable with digital photography. And I had a simple plan, although without an explicit timeline :
- Get into a pin hole photography workshop to see if I really liked the analogue process, before committing more resources into it.
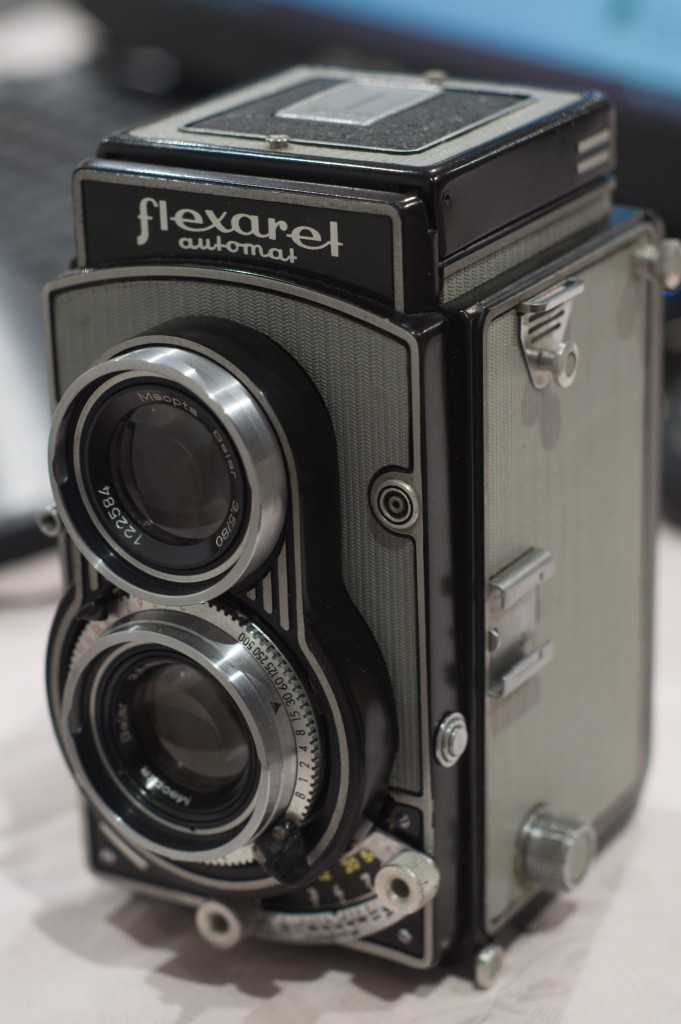
- Get started into B&W photography. I chose medium format because I liked the negative size (6×6).
- Learn how to develop my own B&W film at home.
Note that in processes that require some investment in tools or equipment such as developer tanks, trays, chemicals, enlargers, etc I prefer to take a workshop first before buying any equipment, should I decide that my time and resources should be spent elsewhere.
However, after becoming comfortable with developing my own B&W film, it only became obvious what the next step should be : printing.
After taking a workshop on B&W printing, I’ve decided to setup my own darkroom.
My Darkroom

After deciding to make my own darkroom, several questions had to be answered before investing time and money (and its nothing new for someone who is looking into building one):
- Location
- Must be easy to be made light tight
- Must have room for the enlarger to be permanently assembled
- Must have room to have 3 trays + assorted materials for enlargements
- Equipment (Bare minimum)
- An enlarger
- capable of handling 6×6 negatives
- capable of handling contrast filters
- Safe light
- 3 Trays
- Bottles to keep the prepared solutions ready for use.
- An enlarger
Thankfully, my garage workshop had the space and was easy to be made light tight without much effort (only 1 small window, a vent and a door), with enough room to spare.
Materials / Tools
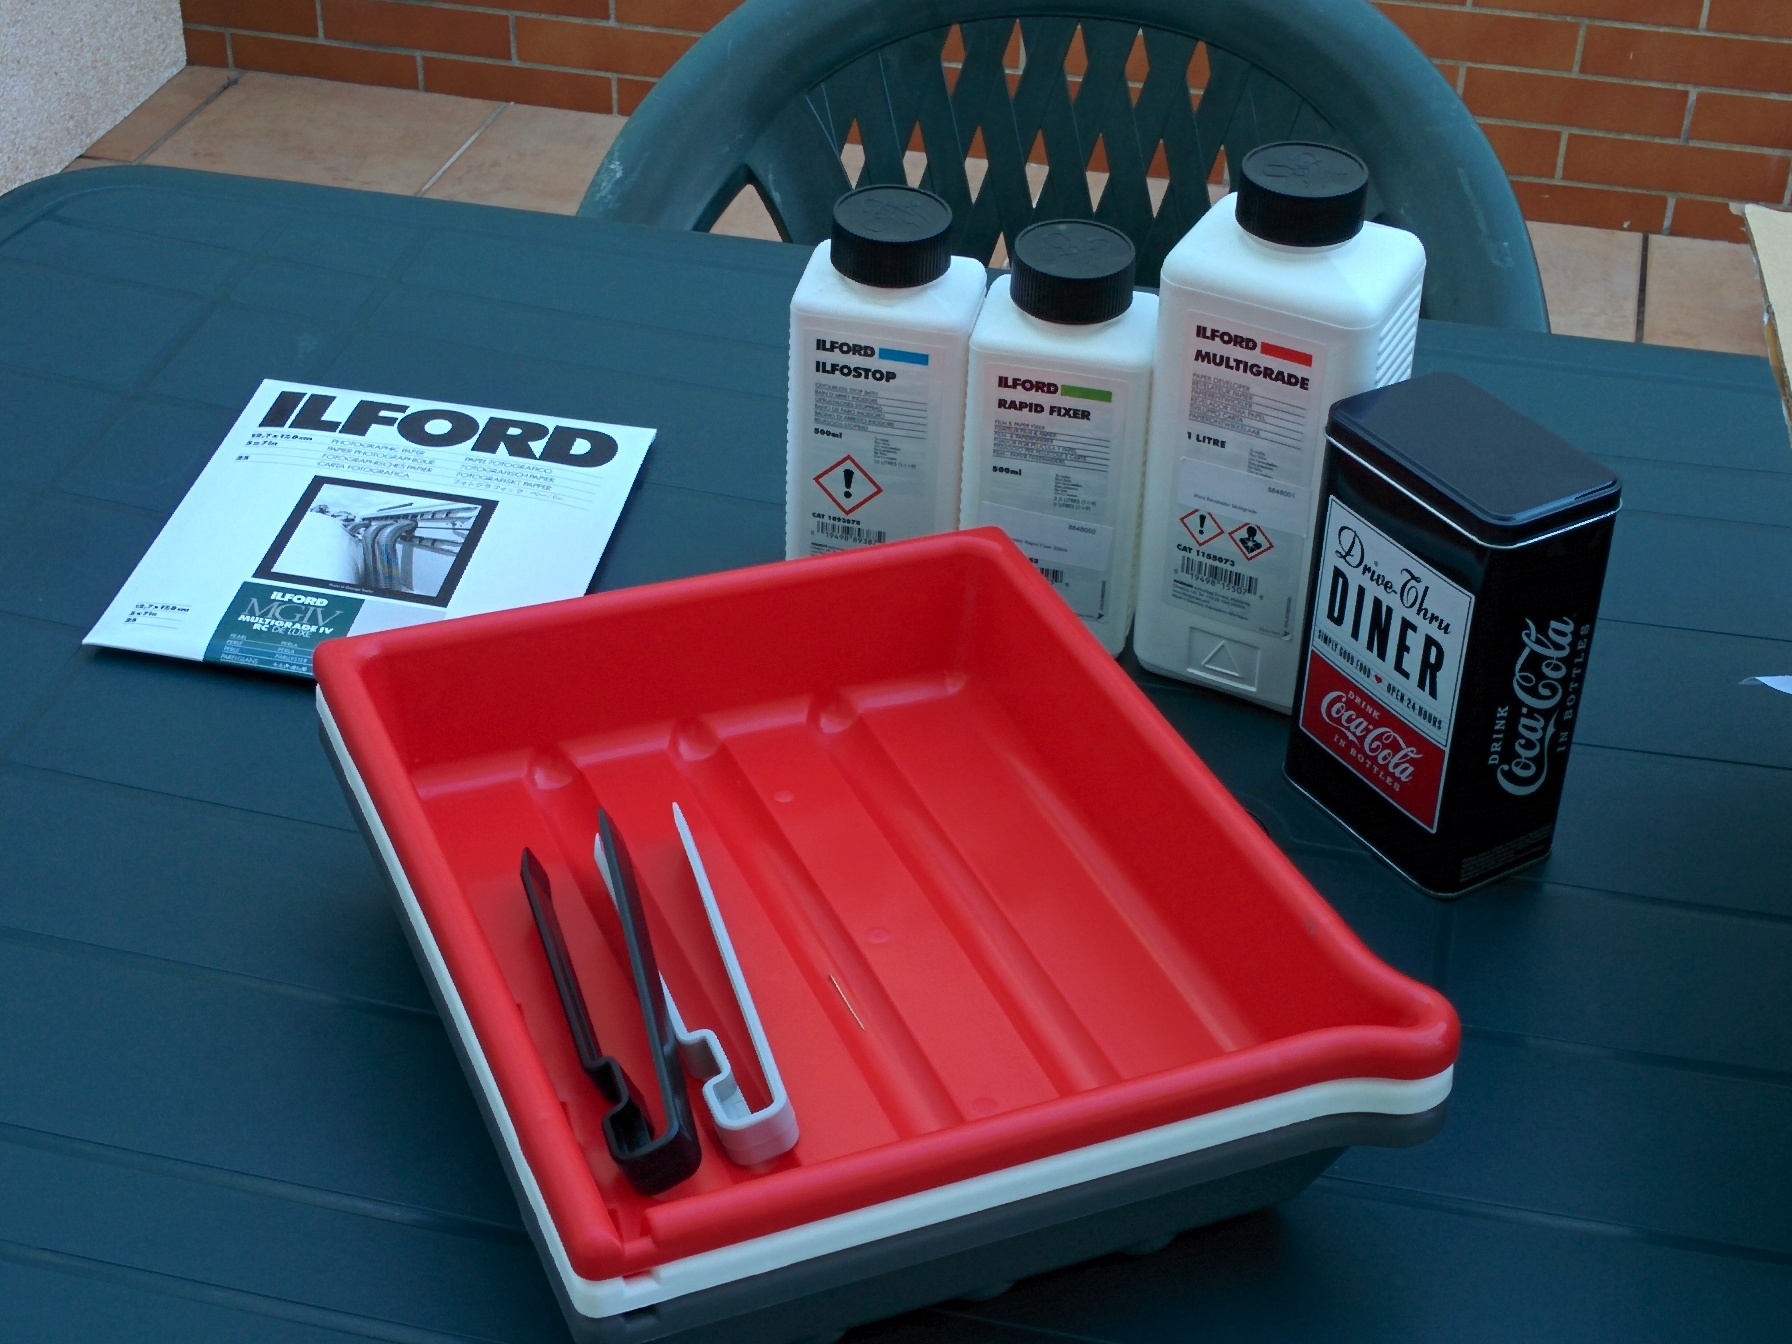
Some of the equipment, such as the trays and RC paper, I’ve already had from my pinhole experiments.
However, the enlarger had to be sourced from a store 50 Kms away – I was unable to source it locally.
The multigrade filters was also purchased from the same store.
I was able to source an Meopta Opemus 6 enlarger, with an 80mm lens.
The Enlarger was in a very good state (it was brought a trusty store). With a bit of maintenance, it got even better.

As for the safe light, I sourced a RGB Led strip locally. So far, when set to red, no fogging was observed on the enlargements.

I’m still lacking some equipment, that although it is not crucial, it will make my life easier :
- An easel.
- A focus finder.
- An timer for the enlarger (probably going to build my own).
For the time being, for the first darkroom, although usable, there is still some more work such as :
- Better separation between the dark and wet areas.
- The enlarger should be enclosed, probable with a curtain
- Forced ventilation must be implemented.
To be continued…..