
After being in a workshop on pinhole photography (held at offo, in Aveiro), and getting a grasp of the development process, it was time to actually start to build a simple camera, as well as to start developing its pictures.
But the initial results were not quite what I expected in terms of sharpness.

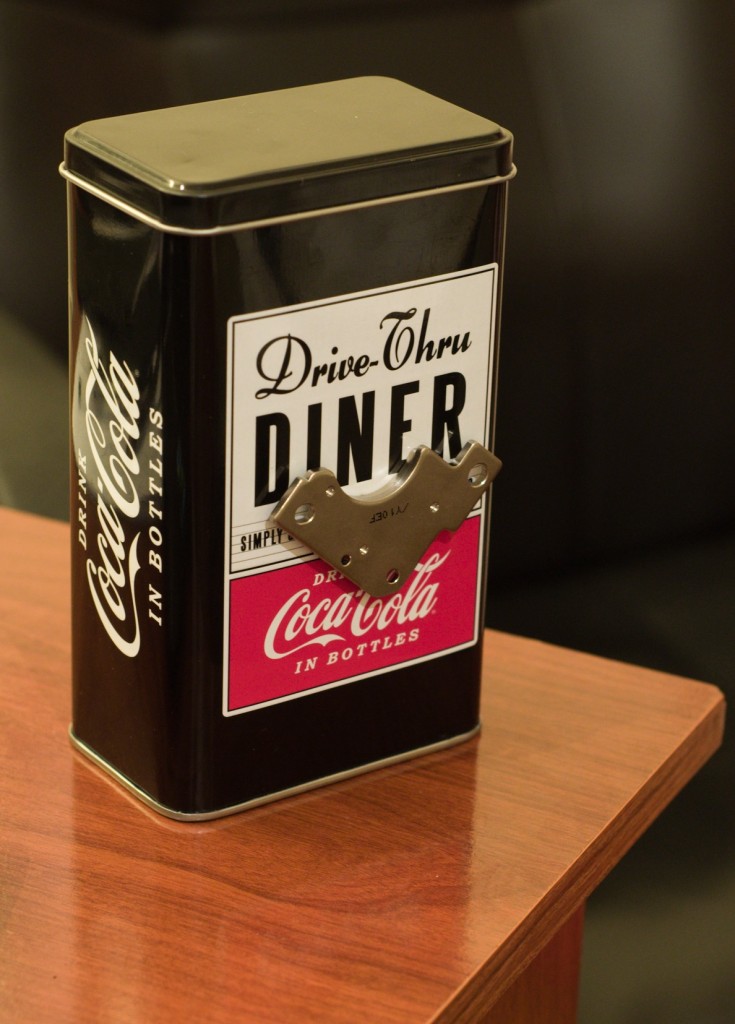
The Camera
One of the issues that I had during the improvised camera at the workshop was the difficulty in ensuring the photographic paper was on the proper position before closing the camera.
Therefore my build should have a simpler way to load the paper into it.
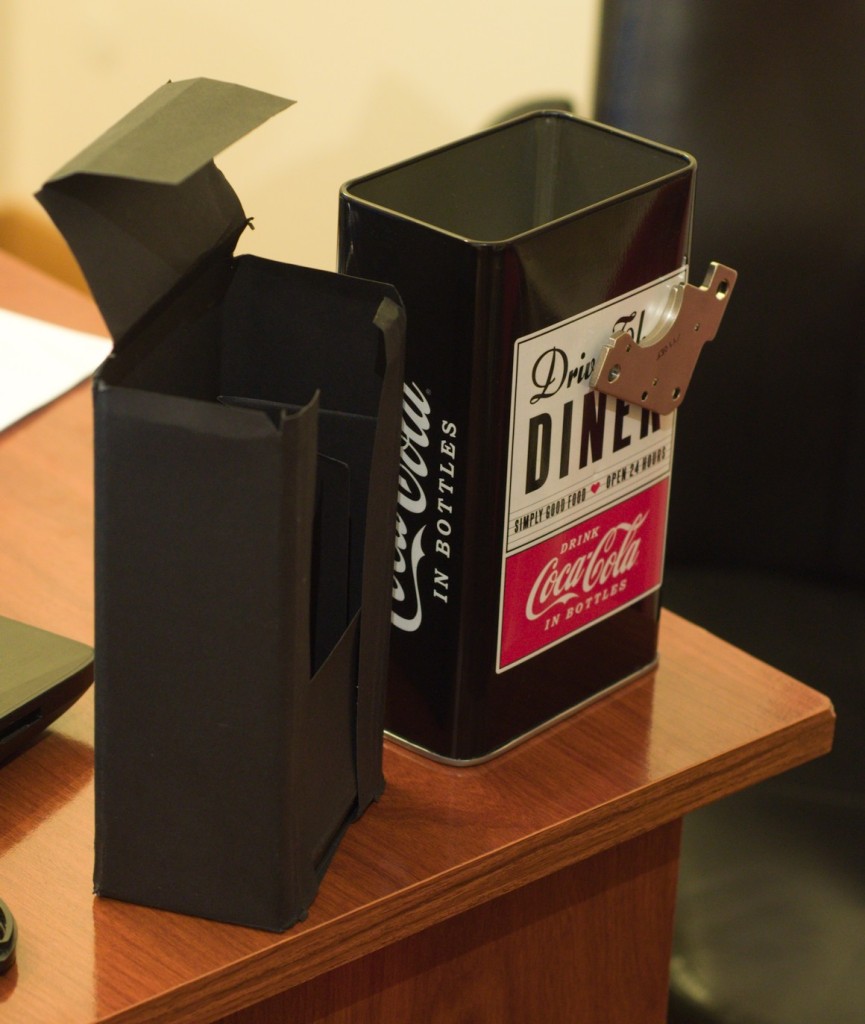
The solution found to ease the photographic paper loading into the camera was to go for a “dual box” design, where the paper is loaded into a “inner box” made with black cardboard. This made unnecessary to paint the inside of the tin box in black.
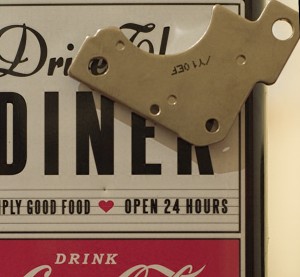
The pinhole was made by puncturing the can frontal wall with a needle, and then removing the protrusion on the opposite side of the hole with sandpaper.
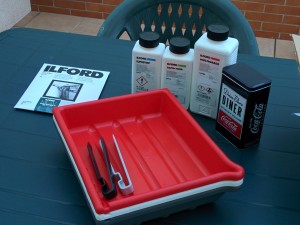
The Development Process
The Standard 3 bath process was used. (Developer, Stop Bath, Fixer).
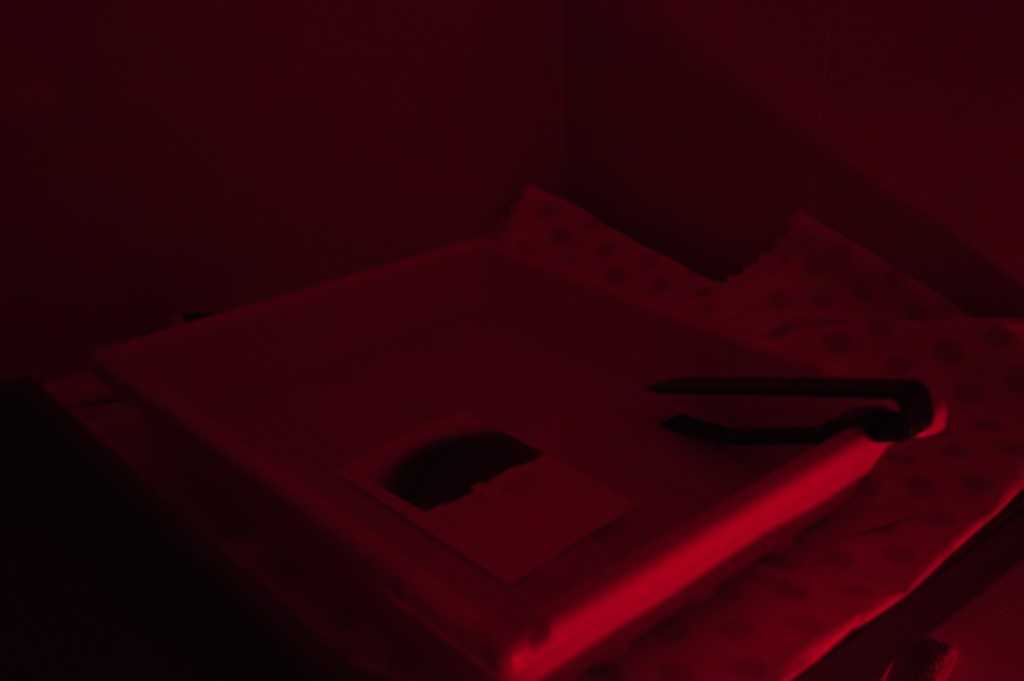
Unfortunately I was unable to find a dedicated safety light to use on my improvised darkroom. A LED RGB strip set to dim red was tested with good results.
The whole development process was done at ambient temperature at the recommended dilution values.
The Results so far


(D90 recomended 1/20 f22 @ iso 200)

Conclusions so far
Taking into account the results I had at the pinhole workshop, I expected sharper pictures when I attempted to replicate the whole process at home.
The main obvious reason may be the pin hole diameter. It is not trivial to punch a very small hole into metal without special equipment. (at the workshop a plastic sheet was used and the pinhole was done with a hot needle).
Nothing that cant be solved with some rework on the camera chassis.